I don’t think that you’re not familiar with Gmail. It has become one of the most used email service providers for personal as well as corporate use. Since an email being one of the most important aspects of an individual as it contains the various business details, your personal documents, and identity-related stuff. So, what happens if someone steals your password and block access to your account. And believe me, it’s pretty easier to steal a password and there are some people who can do this easily. And that is why today, I will tell you about how to enable Gmail two factor authentication.
Enabling two step verification in Gmail is not that difficult. You just have to manipulate certain account settings in order to do this. After you browse Gmail enable two factor authentication, whenever you or someone else tries to log in to your account, Gmail will prompt for an additional pin that it will send on your phone. This is because by verifying the pin, it will make sure that you are the same person to which the account belongs to.
How to Enable Gmail Two Factor Authentication?
Setting up Gmail two factor authentication is very easy. And if you have already submitted your mobile number to it, then there will be not a very lengthy process of doing this.
So, login to your Gmail and then move to the account settings. After that, follow these simple steps in order to Gmail enable two factor authentication.
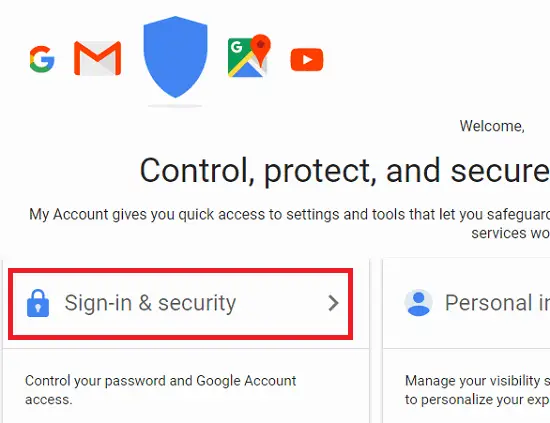
- Click to open Sign-in & Security from the account settings page.
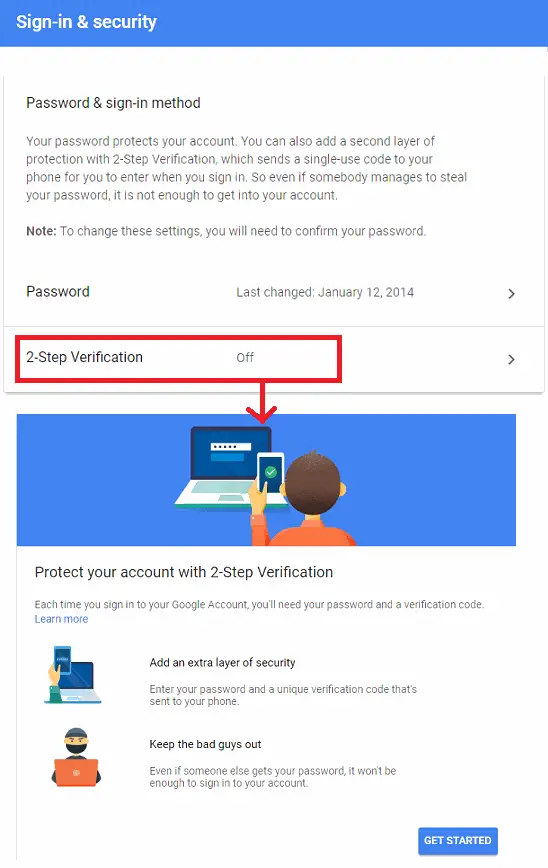
- Move down to the page and look for 2 step Verification option. It is currently turned off, so swipe the switch and turn it on. You will then land to the two step verification’s “getting started” page.
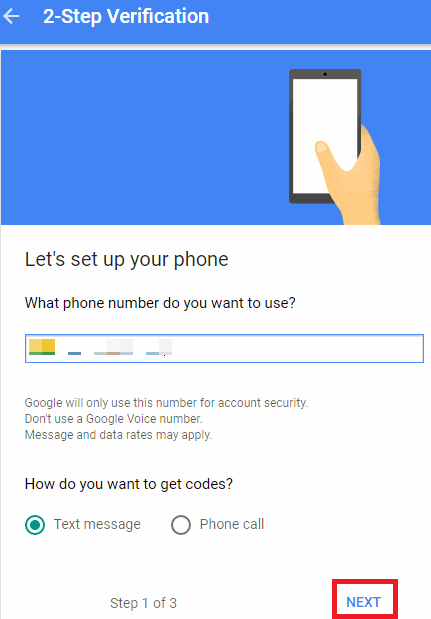
- Next, it will ask you to enter your account’s password to verify that it’s you. After you enter our account password, then it will ask you how you’ like to receive a verification code. Simply choose text and then proceed.
- Now, after verifying the pin, you will reach the last step. So simply turn on the 2 Step Verification to end the process.
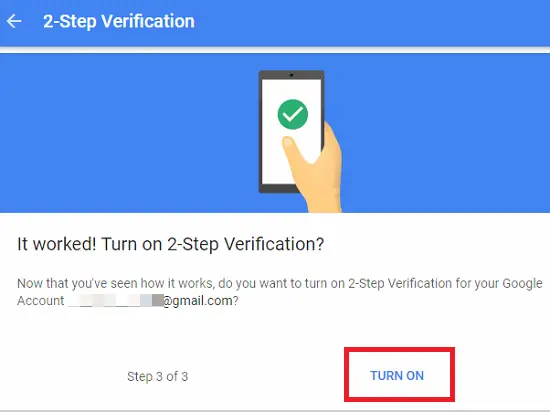
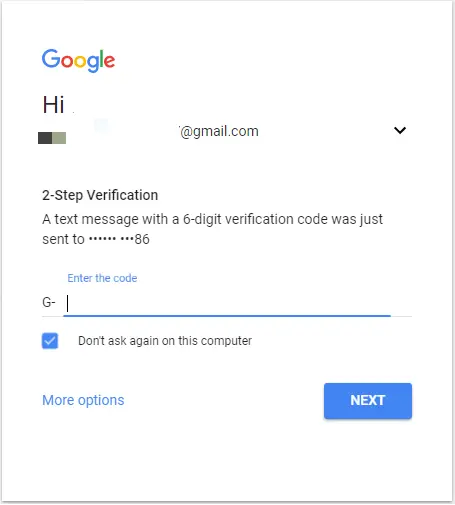
That’s all it takes to enable Gmail two factor authentication. And after all the setup, whenever you try to log into your Gmail account, following situation will occur.
Conclusion:
Adding two factor authentication in Gmail is as easy as it sounds. There is no lengthy process nor it requires an external tool involved in it to do the same. Hence, if you are more concerned about the security of your Gmail account, then you might want to add Gmail two step verification on it. The process of doing that is explained in the above guide. So, get up and secure your Gmail by adding an extra level of security in just a few minutes.
You may also like: